
Have you ever taken a picture and realized later that the composition wasn’t quite right? Or Just want to take the photo editing skills to the next level? Or maybe there’s a distracting element in the background that you wish you could remove.
Mac users have an easy solution at their fingertips – cropping an image. Cropping is a powerful tool that can transform images, allow enhancing composition, focus on key elements, and create stunning visual impact.
No matter if you are a seasoned editor or a pro, learning how to crop an image on Mac will give one a ability to transform their pictures with ease.
In this guide, we’ll walk you through the steps of cropping an image on a Mac using the photos app, built-in tools, both built-in tools and third-party applications, and more.
So stay tuned to elevate our photo game and bring out the best in the images! Also, learn about How to Scan on iPhone by reading this article.
Why Crop an Image on Mac?
Cropping an image on Mac can greatly enhance the visual impact of images and help achieve the perfect composition. Here are the reasons why one should consider cropping an image on Mac:
- Focus on the Subject: Cropping eliminates distracting elements or unwanted backgrounds to bring more focus to the main subject of the image.
- Improve Composition: When you crop the image, you can adjust the placement and size of elements within a photo which leads to a more visually appealing composition.
- Correct Mistake: Sometimes a great shot may have minor flaws like tilted horizons, or unwanted objects in the frame. Cropping them can fix issues without having to retake the image.
- Create a Different Perspective: By doing so, you can experiment with different compositions and perspectives, which gives you multiple options to choose from.
- Save Space and Reduce File Size: Cropping out unnecessary parts can reduce its dimensions and file size, which makes it easier to store and share.
- Increase Visual Impact: After removing unwanted elements and fine-tuning, the framing, and cropping can make an image more dynamic and impactful.
How To Crop A Photo On Mac: 4 Methods
The fact that most of the photographers rely on Apple’s MacBook laptops. This is simply because Mac devices are sturdy and include a huge number of photo editing apps, which makes them a great choice for professional as well as seasoned photographers.
In case you have one, then you must want to know how to crop an image on Mac. To resolve your query, we have come up with 4 methods that will help you to crop image Mac.
How To Crop On Mac Photos App?
- Open the Photos app on Mac.
- Select the photo to crop by clicking on it.
- Click on the “Edit” button (or press the Return key). This will open up the photo editing tools.
- In the toolbar, click on the “Crop” icon (it looks like two overlapping squares).
- A grid will appear over the photo, showing the cropping boundaries.
- To adjust the cropping boundaries, click and drag on any of the handles (small squares) located around the edges of the photo.
- You can also use a preset ratio for cropping by clicking on “Aspect” in the toolbar and choosing from options such as square, 4×3, or custom.
- If you want to rotate the cropped photo, click and hold on one of the corners of the photo and rotate it to the desired angle.
- Once you are satisfied with the crop, click “Done” to save your changes.
Crop Pictures with Online Tools
Concerning crop photo Mac, utilizing the online tools is a convenient and user-friendly option. These tools offer basic editing tools, including cropping, that can help enhance the photos without the need for third-party software.
How to crop a photo on Mac using online tools? In this section, we’ll be explaining steps to crop image Mac on Pixlr and Fotor. Here we go…
On Pixlr
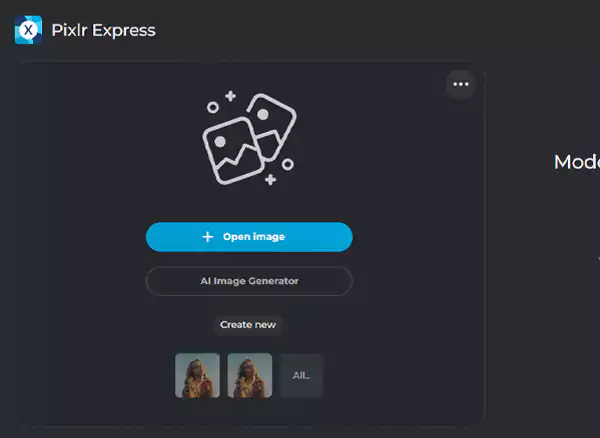
- Using a web browser of your choice search for pixlr.com. You will be directed to its homepage. From the homepage, click on “Open AI Photo Editor”.

- Now, drag or upload an image you wish to crop on the designated field.
- Then, click on the “Crop” tool.

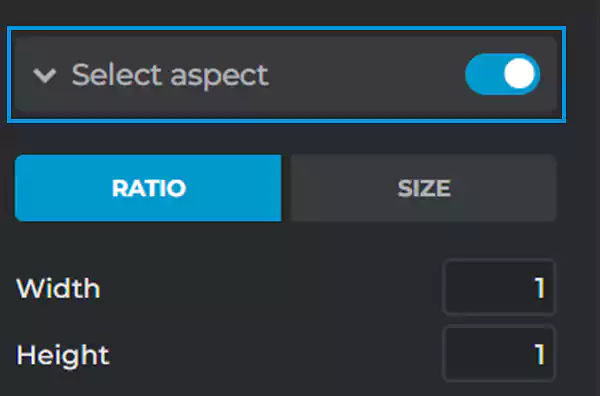
- And, if you prefer to constrain the cropped image to a certain aspect ratio, then click on “Select Aspect”.
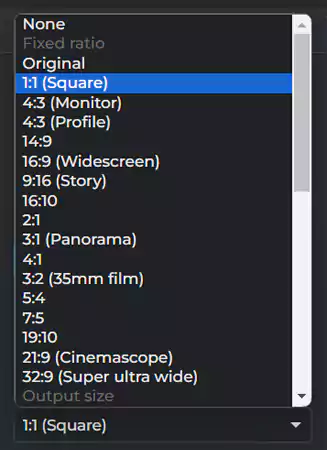
- Also, you can choose a ratio from the “Preset” menu.
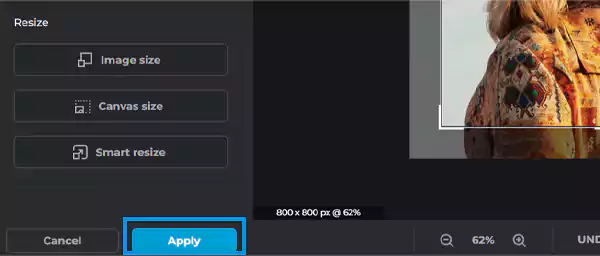
- Drag the crop frame inwards until you are good with the size.

- Lastly, click “Apply” and save the image.
On Fotor
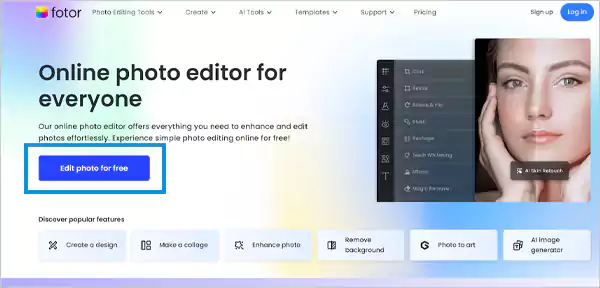
- As you did to open Pixlr, open the web browser of your choice and search for Fotor.com and click on “Edit photo for free”.
- Now, upload the photo by dragging or uploading from the system.
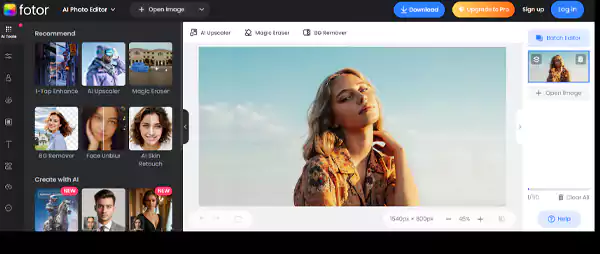
- From the sidebar click on “Adjust”.
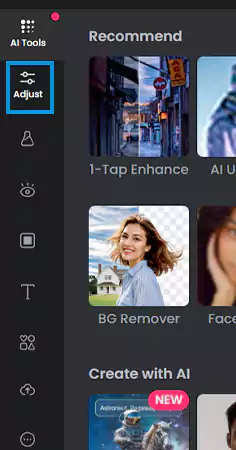
- From the size menu, click on “Crop”.
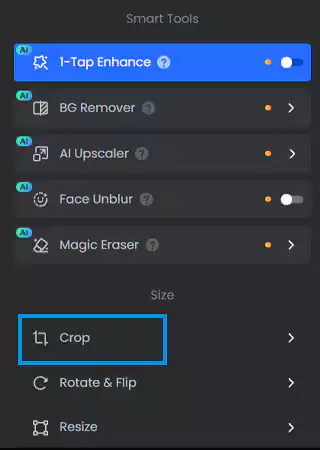
- Use your fingers to adjust the cropping frame according to the desired size and position.
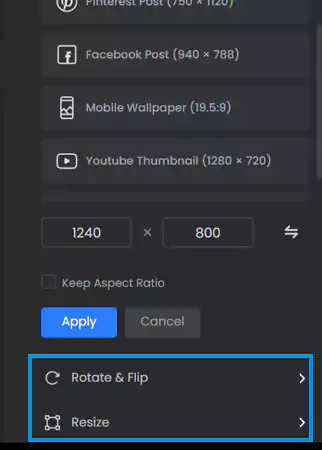
- If you want to, use preset aspect ratios for specific sizes. For example, 1240X800.
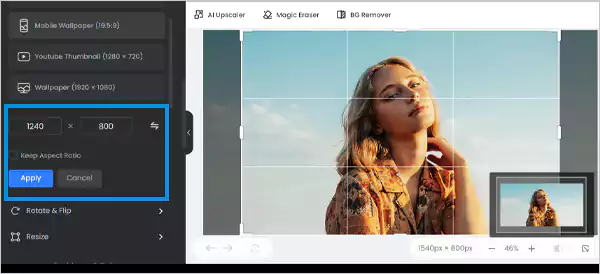
- Also, to rotate or flip/mirror and resize the image, use the buttons from the side menu.
- Check the crop preview and once you are satisfied with the results, click on “Apply”.

Crop Photo Mac With Third-Party Apps
How to crop on Mac using third-party apps? There are a variety of third-party apps available for photo editing, and one common task is cropping images. Here’s how to crop a photo using two popular apps, Pixelmator and Luminar.
On Pixelmator
- Open Pixelmator on your device.
- Click on the file menu and click on “Open”.
- Then select the image you are willing to crop, and then click on “Open”.
- Find the crop tool at the bottom of the toolbar and click on it.
- Change the aspect ratio on a picture by choosing “Custom size”.
- Also, to overlay a grid, click on “Overlay” and choose one of the options accordingly.
- Now drag and position the cropped frame as you prefer.
- After that, click “Apply” to complete the process.
- Alternatively, there is an option to crop an image with ML. Opting it will automatically crop the image using a machine learning algorithm.
On Luminar
- Launch the Luminar app and click on “+” available in the toolbar.
- up next, drag or upload the image you wish to crop and click “Open”.
- Get your hands on the keyboard and press the “C” key.
- Go ahead with the aspect ratio menu and choose between ratio or free-to-crop freeform options.
- Now, drag and position the crop frame as you want it to be. Check crop preview.
- Finally, press “Return”. This will apply to the crop.
Use Photoshop
Using Photoshop can take the cropping skills to the next level. This powerful software offers a wide range of tools and features that allow for precise and detailed adjustments to the image.
With Photoshop, you have complete control over the crop tool, allowing you to adjust not only the size but also the angle and perspective of the image. This level of customization enables individuals to create professional-looking photos with just a few simple clicks.
So, to do that, make the selection after clicking on the “Crop Tool” and press “Enter”. Also, you can type in a custom aspect ratio, change the grid that overlays on the selection, and even alter the image resolution after cropping as well.
In addition, Photoshop offers advanced options like content-aware cropping. This option navigates the software to intelligently fill in any gaps created when rotating or straightening an image.
As a result, it helps maintain the integrity of the photo when making necessary adjustments for a cleaner final result.
Conclusion
In conclusion, cropping images on a Mac is no rocket science. Now that you have learned how to crop an image on Mac, it’s clear that this skill is valuable to enhance one’s photo editing abilities.
Remember to experiment with different aspect ratios and compositions to achieve the desired effect in cropped photos. This will help enable one to create professional-looking photos that stand out from the crowd.
With practice and patience, you’ll soon be able to crop on Mac like a pro and elevate the photography game.